Managing your Entities
You can manage your entities from the entities interface. This interface is accessible from the settings
interface.
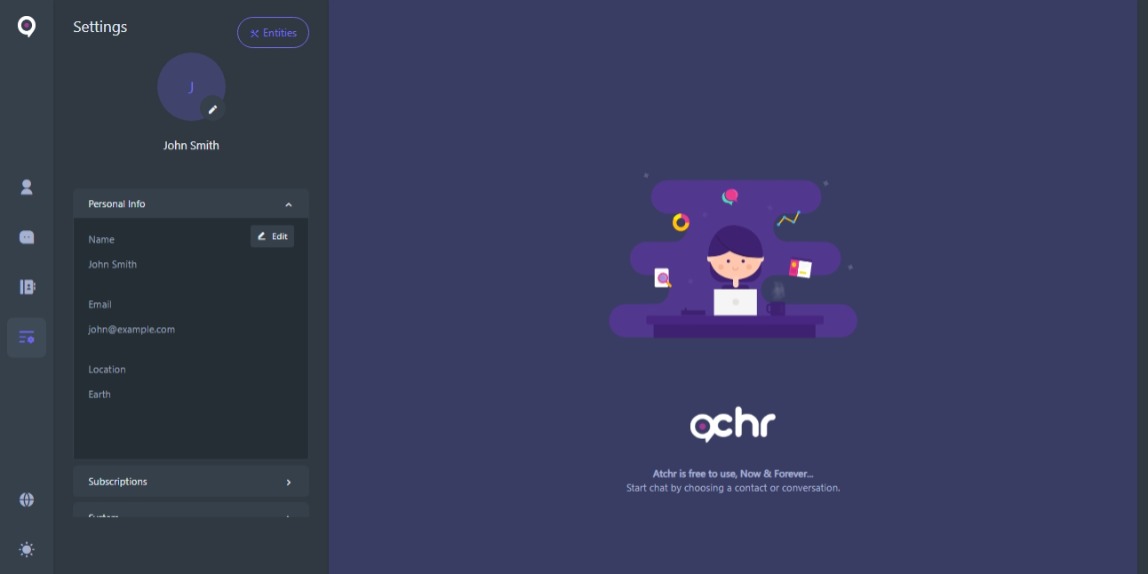
Navigate to your settings interface.
On mobile devices or devices with smaller screens, this option is available by opening the ≡ menu in the bottom menu bar and selecting the Settings option.
Click on the Entities button on the top right corner of the settings interface.
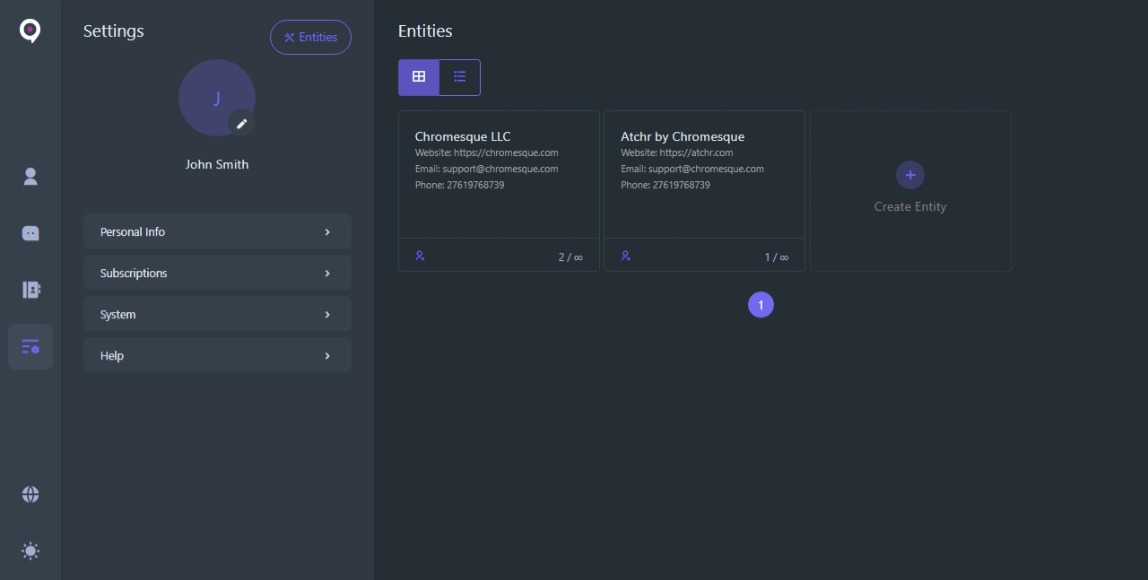
Select an entity by clicking on the Entity name or Create an entity if you do not have an existing entity.
Upon selecting an entity, the entity details interface will be displayed.
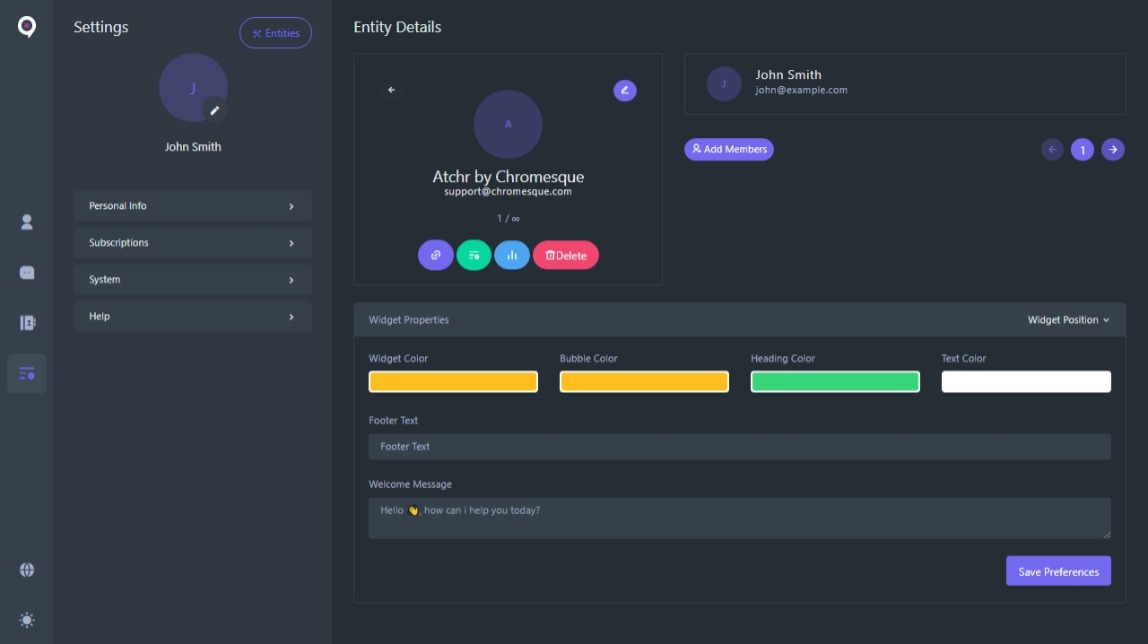
Your entity details and properties interface is quite detailed.
So we will break it down into smaller sections for the purpose of this article.
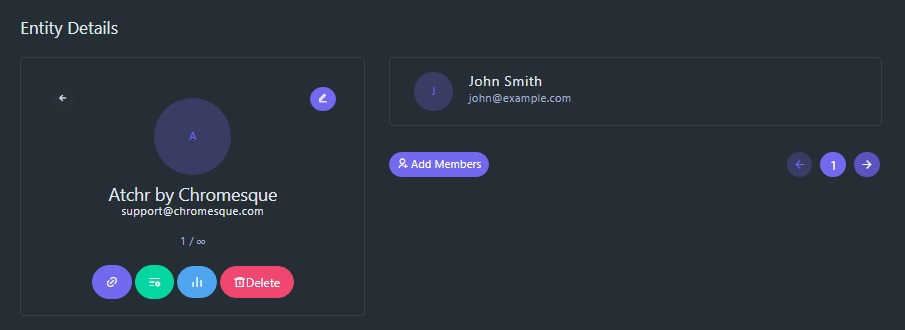
Entity Controls

-
The first button (purple) allows you to copy a link where the widget can be interacted with directly.
This link can be used for testing purposes, embedded or provided for direct chat to an entity. -
The second button (green) displays an interface to copy your widget embed code.
You can close this interface by clicking the "Copy Embed code" button. - The third button (blue) navigates to your entity reports interface where you can see details and analytics information regarding your entity.
- The fourth button (red) allows you to permanently delete your entity. This action can not be reverted or undone.
Clicking on the edit button on the top right of the interface opens the entity edit interface.

In this interface, the creator of an entity can modify/edit an entity by clicking on the 🖉 edit button
on the top right corner of this interface.
This allows users to remove themselves as representatives of the entity.
In this interface, You can edit all entity details and replace the entity's display picture.
An entity's display picture is displayed on the widget interface.
Entity Team
An entity's team consist of members that are allowed to represent an entity and contact widget members on behalf of
the entity.
Team members are invited to an entity by email.
Always ensure that you only invite members that you trust to represent your entity.
By confirming your membership to a team, an entity may have access to limited personal information such as your full name, email address and profile picture.
By clicking the confirmation link, you agree to Atchr's Terms & Condition and Chromesque LLC's Terms of Usage.

Upon clicking the "Add Member" button, a pop up interface will be displayed.
The members email address is required. Other fields in this form are optional.
If an invitation message is provided, it will replace the default invitation message to be sent via email.
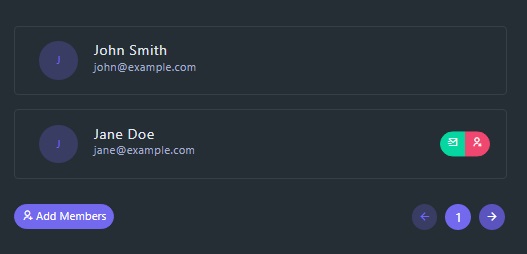
You can also resend invitation to team members or remove team members after they have been added.
This option is only available for the entity admin & creator.
Widget Properties
You can add and modify your widget properties and appearance.
This ensures that your widget is unique to and themed according to your entity.
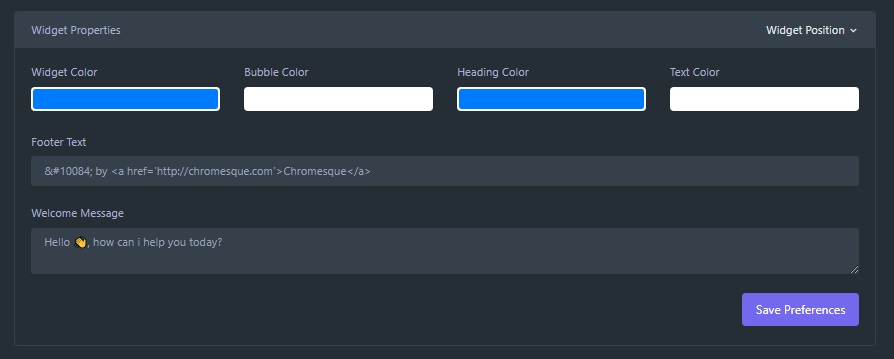
- You can modify your widget position by clicking on the "Widget Position" dropdown menu.
- You can change your widgets general theme color by changing the "Widget Color" property.
- You can change your bubble color by changing the "Bubble Color" property.
- You can change your widget heading background color by changing the "Heading Color" property.
- You can change your widget text color by changing your "Text Color" property.
-
You can change your widget footer text by changing the "Footer Text" property.
Leaving this field blank removes the widget footer. -
You can set your widget welcome message by changing the "Welcome Message" property.
This message is displayed when a chat in initiated in the widget.